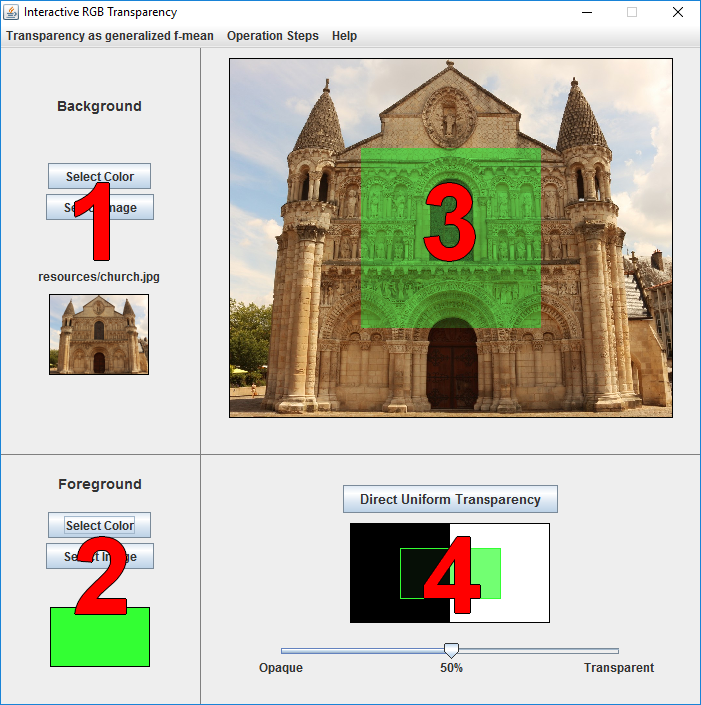
1
Background (pull down menu Select Background)
You can either select a uniform background color (Select Color button) with the help of an interactive color selection tool, or an image file (Select Image button). Note that you can also drag and drop an image directly from a file manager to the Background zone.
2
Foreground (pull down menu Select Foreground)
You can either select a uniform foreground color (Select Color button) with the help of an interactive color selection tool, or an image file (Select Image button). Note that you can also drag and drop an image directly from a file manager to the Foreground zone.
3
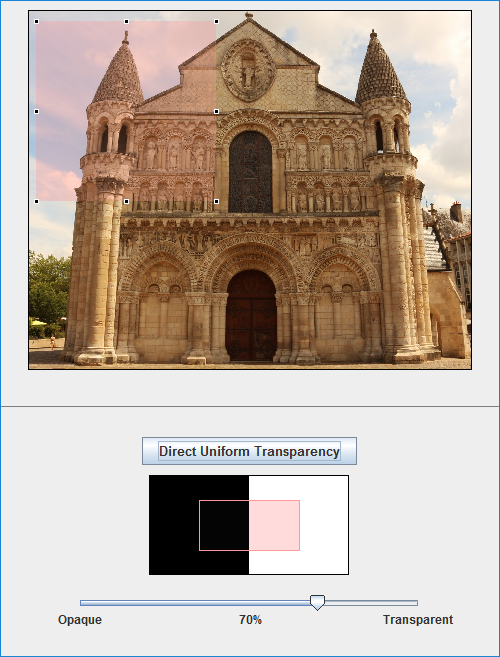
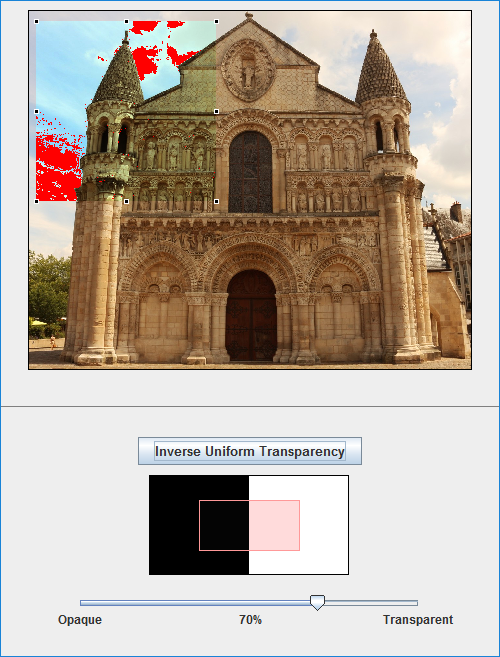
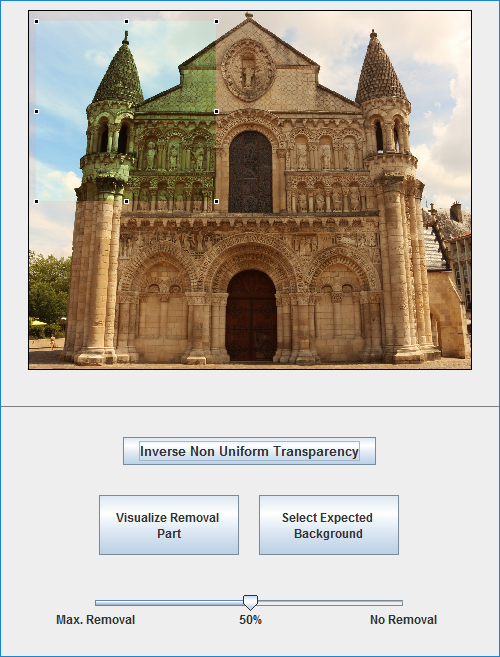
Resulting image
This part displays the resulting image.
You can drag and drop this image into the Background zone as a new background image. It allows doing successive transparency effects without saving the intermediate steps.
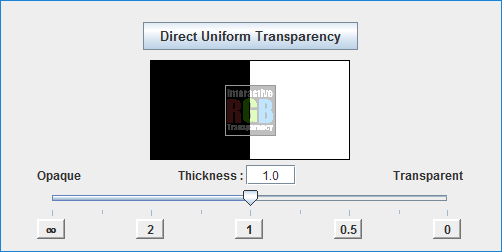
4
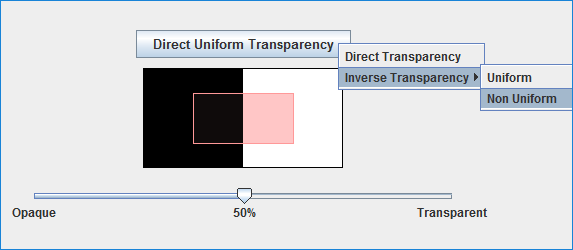
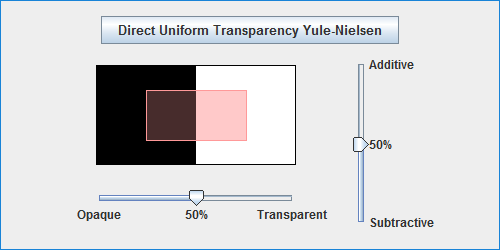
Transparency
This part contains the interactive control for the transparency rate (from 0% for an opaque foreground to 100% for the absence of a foreground). The transparency result is displayed for the selected foreground image or color on a contrast card (juxtaposition of a perfectly black and a perfectly white background).
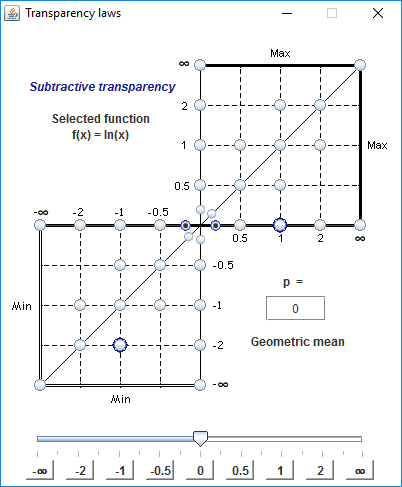
The transparency mode can be modified either by using the pull down menu Transparency Mode or by clicking on the corresponding button.